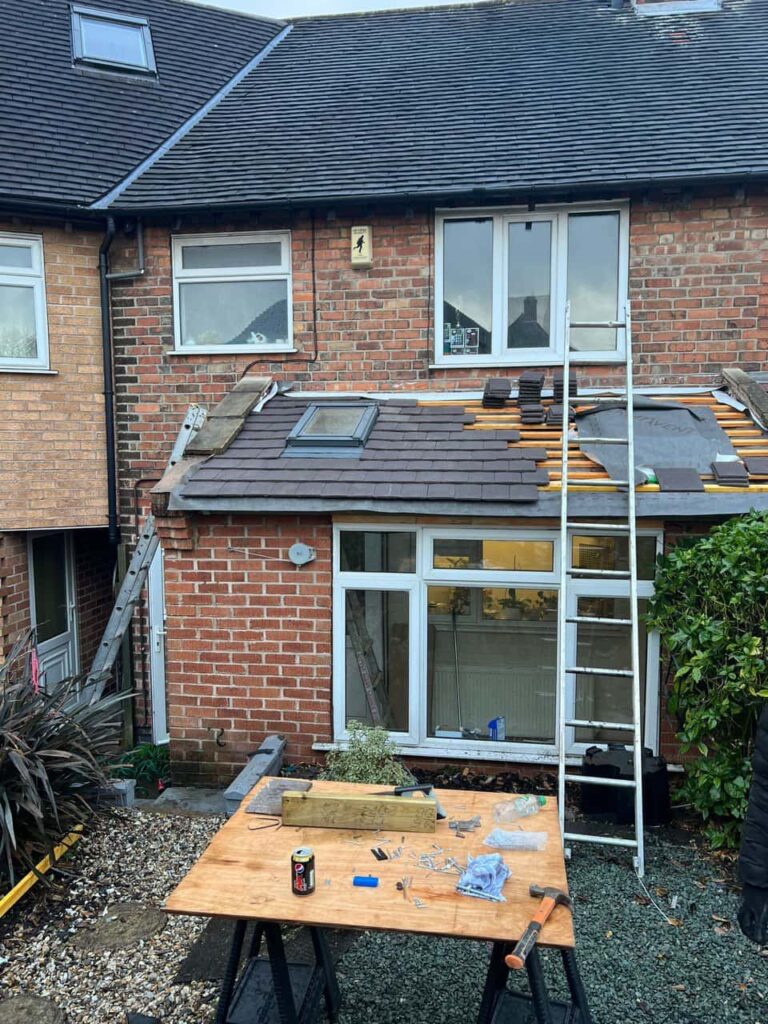
Taking the Right Steps After Discovering a Roof Leak
Finding water entering your home can be worrying, particularly when the source is not immediately visible. A roof leak should be addressed promptly, but the first steps should focus on keeping people safe, limiting internal damage and arranging a professional inspection.
For property owners in Stamford Bridge, East Riding of Yorkshire, acting calmly and recording what happens can also provide useful information for diagnosing the defect. The damp patch or drip inside the property may not sit directly beneath the point where rain is entering, so the roof needs to be assessed methodically.
Keep Clear of Electrical Fixtures
Water near lights, sockets, wiring or electrical equipment requires particular caution. Do not touch wet fittings or use appliances in the affected area.
If there is any concern about electrical contact, keep people away and seek appropriate professional assistance. Avoid standing beneath a ceiling that is heavily saturated, bulging or beginning to deteriorate.
Safety should take priority over attempting to protect furnishings or investigate the source.
Protect the Room From Further Water
If it is safe to enter the area, move furniture, rugs and other possessions away from the leak. Place a suitable container beneath a steady drip and use towels or protective coverings to limit water reaching the floor.
A waterproof sheet can help protect larger items that cannot be moved easily. Check the container regularly, particularly during prolonged rainfall.
These measures do not repair the roof, but they can reduce secondary damage while professional assistance is arranged.
Do Not Climb Onto a Wet Roof
A leaking roof should not be investigated by walking across it. Wet tiles, slates and flat roof coverings can be extremely slippery, while materials around the defect may already be loose or weakened.
Attempting to reposition a tile or apply an improvised covering can also cause further damage. A minor visible problem may involve unstable materials beneath the surface, making the area unsuitable for untrained access.
External observations should be made safely from ground level.
Record When and Where the Leak Appears
Details about the leak can help a roofer identify its likely cause. If safe, take photographs of the internal damp patch and make a note of:
- When the leak first became visible
- Whether it drips continuously or intermittently
- How heavy the rain was at the time
- The direction of the wind
- Whether the patch grows during prolonged rainfall
- Which room and part of the ceiling are affected
- Whether the problem stops soon after the rain
- Any recent changes noticed on the roof
Marking the edge of a damp patch lightly can also help show whether it is spreading.
Check the Loft Only If It Is Safe
If the loft is readily accessible and there is no electrical concern, a visual inspection from a secure boarded area may provide useful information. Use a torch and avoid stepping between joists or touching wet insulation and roofing materials.
Possible signs include:
- Damp or stained underlay
- Moisture on rafters
- Wet insulation
- Daylight through the roof covering
- Water travelling along timber
- Drips near chimneys or roof junctions
- Evidence of an older leak
- Condensation across a wider area
Water may travel before it drips, so the wettest internal point is not necessarily the external source.
Look for Visible Changes From the Ground
From a safe position outside, check for obvious alterations to the roof. These may include:
- Missing, cracked or slipped tiles
- A tile sitting lower than the surrounding row
- Loose ridge or hip tiles
- Damaged flashing
- Debris in the gutter or garden
- Blocked or overflowing guttering
- Damage around a chimney
- Changes to a flat roof edge
A clear external defect can help guide the inspection, but it should not be assumed to be the only cause without further assessment.
Arrange a Professional Roof Inspection
A leak indicates that moisture is entering or forming where it should not. Even if the dripping stops when the weather improves, the route may reopen during the next suitable combination of rain and wind.
A professional inspection should consider the whole area around the leak, including:
- Roof tiles or slates
- Fixings and supporting battens
- Underlay
- Flashing and roof junctions
- Valleys and drainage routes
- Chimney details
- Flat roof seams and outlets
- Previous repair areas
- Accessible internal timbers
- Guttering and roofline components
This helps distinguish a localised defect from a problem affecting a wider section.
Why the Internal Damp Patch May Be Misleading
Rain can enter through one part of the roof and move along underlay, rafters or other surfaces before appearing indoors. As a result, repairing the area immediately above the stain may not stop the leak.
Different weather conditions can further complicate the diagnosis. A vulnerable side joint may leak only during wind-driven rain, while a blocked valley may cause problems after prolonged rainfall.
Tracing the water route is therefore more important than relying solely on the position of the visible symptom.
Avoid Temporary Products as a Long-Term Answer
Indoor paint, filler and stain-blocking products may improve the appearance of a ceiling, but they do not prevent further water entry. Decorating before the roof has been repaired and the affected materials have dried can conceal continuing moisture.
External sealants and patching products can also be unsuitable when they are applied without understanding the defect. They may divert water elsewhere or make a later repair more difficult.
Temporary protection can be useful in some circumstances, but it should be followed by a proper diagnosis and suitable repair.
What Could Be Causing the Leak?
Common causes include:
- A slipped, cracked or missing tile
- Failed flashing around a junction
- Deteriorated mortar at ridges or verges
- A blocked or damaged valley
- Torn or brittle underlay
- Damaged flat roof material
- Loose detailing around a roof penetration
- Defects around a chimney
- Overflowing gutters
- A poorly integrated previous repair
The visible size of the leak does not reliably show how extensive the external defect is. A small opening can admit a notable amount of water under the right conditions.
What Happens After the Cause Is Found?
If the defect is isolated and the surrounding materials remain sound, a targeted roof repair may be sufficient. This could involve replacing and securing tiles, repairing flashing, clearing a drainage route or renewing a damaged section of covering.
Where moisture has affected supporting materials, the repair may need to include those components as well. The purpose should be to restore the roof’s weatherproofing and correct the cause, rather than only stopping the most visible drip.
Conclusion
When your roof starts leaking, keep clear of electrical fixtures, protect the affected room where safe and avoid climbing onto the roof. Record when the leak occurs and arrange an inspection even if the water stops after the rain.
Prompt attention can help identify the defect before moisture spreads into a wider area. If your property in Stamford Bridge has developed a roof leak, TRP Roofing Stamford Bridge can inspect the affected section, trace the likely source and recommend an appropriate repair without suggesting unnecessary work.
Call us on: 01759 487 796
Click here to find out more about TRP Roofing Stamford Bridge
Click here to complete our contact form and see how we can help with your roofing needs.